Forms:
Form tag:
The <form>element is used to create an HTML form for user input.
It will collect the user data from user.
- Textboxes
- Radio Buttons
- Buttons
- Text area
- Drop-Down Lists
Textbox:
- A text box is nothing but an rectangular area.
- It allows the user to insert the data.
- We can insert multiline text lines that means we can insert unlimited number of characters.
- Syntax: <input type=”Text”>
Radio Button:
- Radio button is a form element.
- Radio buttons are presented in groups.
- we can select only one radio button at a time.
- Name attribute is used to specify the group name of the radio button.
- Syntax:<input type=”radio” name=”gender”>
Button:
- The Button element is used to create an HTML button.
- The Button tag is a clickable button.
- Inside a button element we can put images and links.
- we can change the colors and borders of the button by using css.
- Syntax:<input type="Submit">
Checkbox:
- Checkbox is a boolean attribute.
- It allows the user to select multiple options at a time with limited number.
- If we want to select a default value then we can add checked property to the checkbox.
- Syntax: <input type=”Checkbox”>
Textarea:
- In text area we can insert multiple number of lines.
- In registration forms we use textarea for address.
- Syntax: <input type=”Text” cols="value" rows="value">
- Value is nothing but number.
Select:
- The select element in html defines a drop-down-list.
- We can specify the value of the drop down in option tag.which allow the user to select the value.
- Syntax:
<select name="">
</option value=" "></option>
</select>
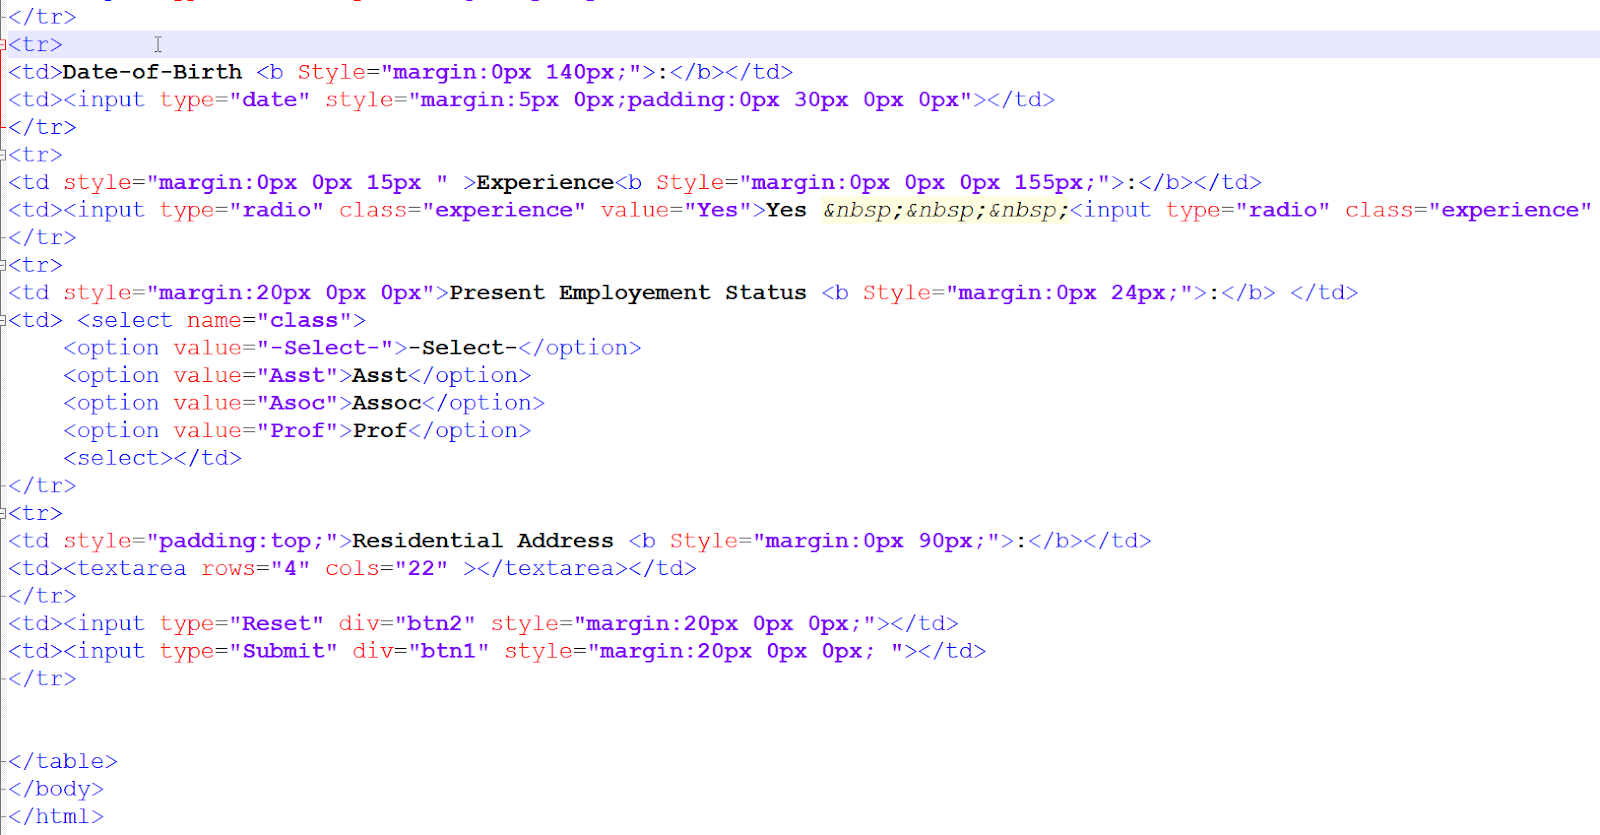
Task-1: Create a Student Registration Form
Code:


OUTPUT:

Task-2:Create a Teacher registration Form.
Code:

OUTPUT:

Chapter-2:Create a Login Form by using Textbox,Radio Button,checkbox and submit button
Code:
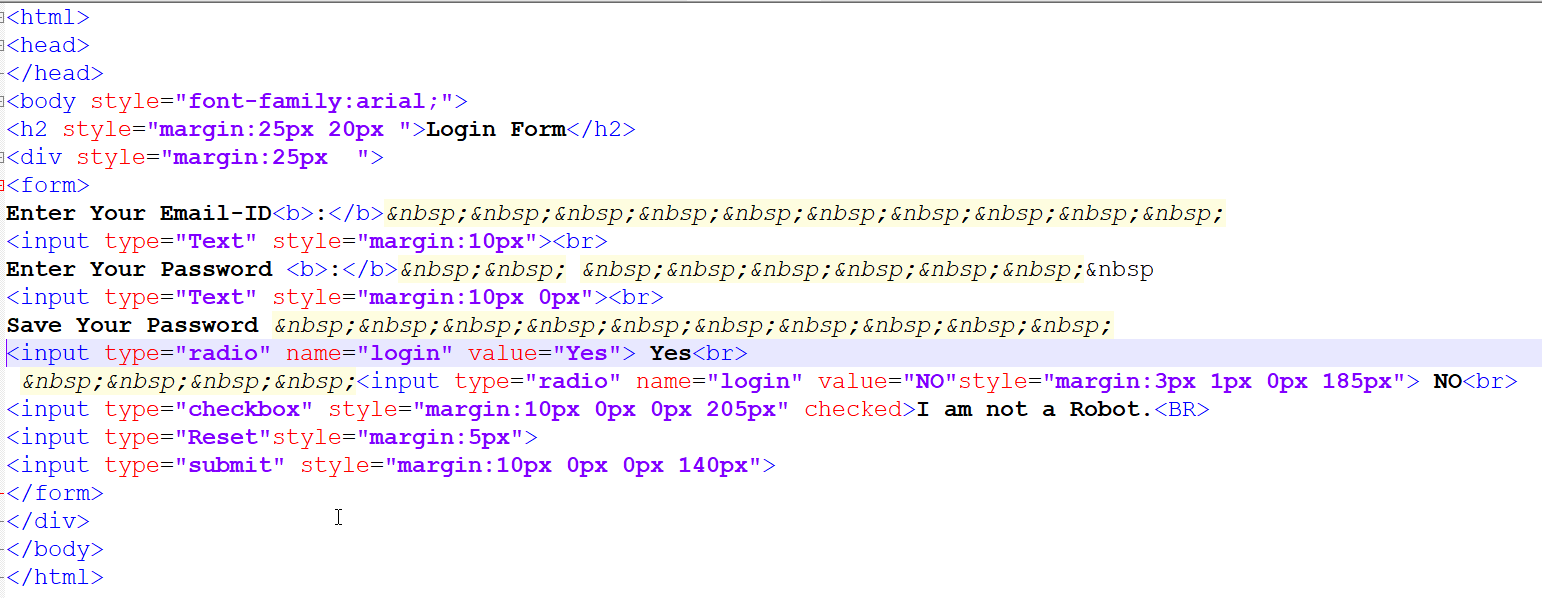
OUTPUT:

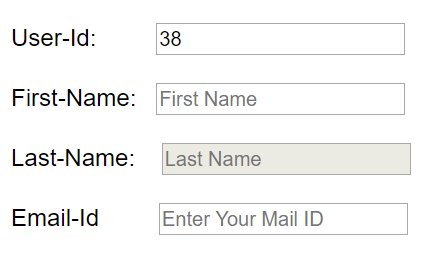
Chapter-3:Create a sample form by using Name and Id attributes
Code:

OUTPUT:

Chapter-4:Create a sample Form with different width,Height and Default input attributes.
Form Elements:
1)Size:Size attribute is used in textbox. If we specify size attribute then it will increases the size of the textbox.
Syntax:<input type="text" size="32">
2)Max-Length: If we specify max-length attribute in textbox then it will restrict the user
not to enter many characters.
not to enter many characters.
Syntax: <input type="text" maxlength="10">
3)Value:Value attribute is used for predefined text.
Syntax:<input type="text" va;ue="Enter your name">
4)Width:width is not a textbox attribute.if we want to apply width then we have to use css property.
5)Height:Height is not a textbox attributer.if we want to use width then we have to use css property.
Code:

OUTPUT:

Chapter-5:Creatre a form by using readonly,Disabled and Focus attributes for textbox.
Attributes:

3)width,Height: By using this we can change the height and width of textbox.
4)Border: Borders are specified by using border Properties


Code:
OUTPUT:
Chapter-5:Creatre a form by using readonly,Disabled and Focus attributes for textbox.
Attributes:
- Readonly: Whenever we specify a textbox as readonly then the value will not be modified by the user.
- Disabled:Whenever a textbox is disabled then the text box will not allow the user to insert data.
- Focus:whenever we specify focus attribute for a textbox,then it automatically get focused.
Code:
OUTPUT:
Chapter-6:Apply css style properties for Form input elements
CSS Style:
1)Background-color: It is used to give background color to textbox .
2)Color:By using this we can change text-color black to any other color.
3)width,Height: By using this we can change the height and width of textbox.
4)Border: Borders are specified by using border Properties
- We have 7 Types of border styles.they are
Solid,Dashed,Dotted,None,Hidden,inset,outset. - Border Width:To specify border width we will use
border-width:px - Border-Color:We can specify different colors to borders for 4 sides.
5)Class: Class is an attribute.
- By using this attribute we can give styles to many elements.
- Class attribute can be specified in any html element.
- If many elements can have same class name then it will give equal styles to all elements which has the same class name.
- Id Name should be different for each and every element.
- By using id element we can give styles to one element only.
Code:
OUTPUT:
Chapter-7:Apply different styles to textbox.
Text-Alignment:By using Text-Align propperty.we can change the text entering from right to left and from center.
Cursors:We have different types of cursor properties.here i am using pointer and not allowed properties.
some of the cursor properties are
i.alias
ii.auto
iii.cell
iv.pointer
v.none
vi.copy
vii.not-allowed
Disabled: we can make textbox,button,radio button,textarea as disabled by using disabled attribute. if we use this in any element,then its value will never submitted.
Code:

OUTPUT:


Chapter-8,9:Create a select box and apply its default attributes and css styles.
AutoFocus:It will get focused whenever the page is loaded.
Disabled:If we use this then the user can not select the value.
Code:


OUTPUT:


OUTPUT:
Chapter-11:Design Textarea to enter address.
Code:

OUTPUT:

Chapter-12:Design 3 textareas with different sizes.
Code:

OUTPUT:

Chapter-13:Apply |Css styles to textareas.
Code:

OUTPUT:

Chapter-14: Display three buttons.
Code:

OUTPUT:

Chapter-15:Display two buttons one is disabled and another one is normal button.
Code:
OUTPUT:

Chapter-16:Apply different styles to buttons
Code:


OUTPUT:

Cursors:We have different types of cursor properties.here i am using pointer and not allowed properties.
some of the cursor properties are
i.alias
ii.auto
iii.cell
iv.pointer
v.none
vi.copy
vii.not-allowed
Disabled: we can make textbox,button,radio button,textarea as disabled by using disabled attribute. if we use this in any element,then its value will never submitted.
Code:
OUTPUT:
Chapter-8,9:Create a select box and apply its default attributes and css styles.
Select Box:It is nothing but a drop-down-elements.we can give some predefined options to user. in option tag we specify the lebels.
Size:By using this we can give size of visable elements to user.AutoFocus:It will get focused whenever the page is loaded.
Disabled:If we use this then the user can not select the value.
Code:
OUTPUT:
Chapter-10:Apply css styles to select box .
Code:
OUTPUT:
Chapter-11:Design Textarea to enter address.
Code:
OUTPUT:
Chapter-12:Design 3 textareas with different sizes.
Code:
OUTPUT:
Chapter-13:Apply |Css styles to textareas.
Code:
OUTPUT:
Chapter-14: Display three buttons.
Code:
OUTPUT:
Chapter-15:Display two buttons one is disabled and another one is normal button.
Code:
OUTPUT:
Chapter-16:Apply different styles to buttons
Code:
OUTPUT: